Watercolor Flowers: A Step-by-Step Tutorial for Beginners
Watercolor painting offers a gentle and expressive way to capture the beauty of flowers. For those beginning their artistic journey, learning to paint delicate petals and leaves can feel both exciting and challenging. The techniques of wet-on-wet and dry brush are foundational methods that help create soft transitions and crisp details. This tutorial provides a structured approach to painting watercolor flowers, focusing on process and observation rather than on achieving a perfect result.
Understanding how water interacts with pigment is the first step. When paper is moistened, paint spreads organically, producing soft edges and blended colors. When applied to dry paper, the same paint stays where it is placed, allowing for controlled lines and textures. Combining these two approaches allows an artist to build a flower that feels both airy and defined. The following sections outline the materials, specific techniques, and a step-by-step method to practice painting a simple flower.
Before beginning any exercise, it is helpful to prepare a work area with ample lighting and easy access to clean water. The goal is not to replicate a photograph but to explore how the medium behaves and how different brushstrokes can suggest the form of a flower. With repeated practice, the hand becomes more accustomed to the rhythm of watercolor.
Materials and Setup
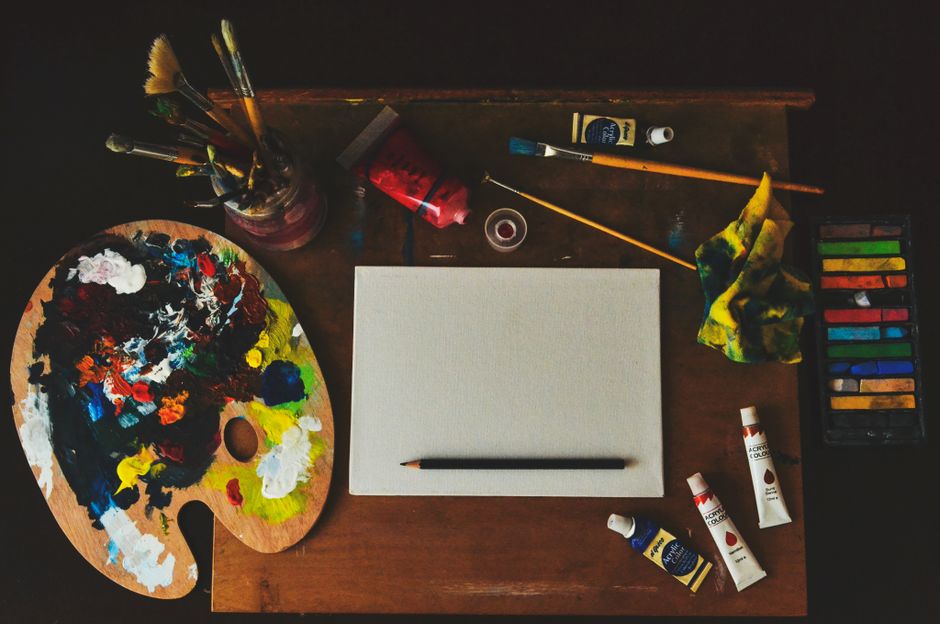
Having the right tools can make the learning process smoother, but expensive supplies are not necessary. A basic set of student-grade watercolor paints, two or three brushes of different sizes, and a pad of cold-pressed watercolor paper provide a good starting point. Cold-pressed paper has a slight texture that holds water and pigment well, making it suitable for both wet-on-wet and dry brush techniques.
A palette with wells or a flat ceramic plate can be used for mixing colors. Two containers of water—one for rinsing brushes and one for clean water—help keep pigments clear. Paper towels or a soft cloth are useful for blotting excess moisture from brushes. For those interested in exploring specific brands, Art Spectrum offers a range of watercolor paints that are known for their clarity and lightfastness, though any quality paint will work for practice.
Setting up the workspace involves arranging materials within easy reach and taping the paper to a board to prevent warping. A small spray bottle can be used to rewet areas of the paper if needed. Having a reference image of a simple flower, such as a daisy or a tulip, can guide the composition without dictating every stroke.
Understanding the Wet-on-Wet Technique
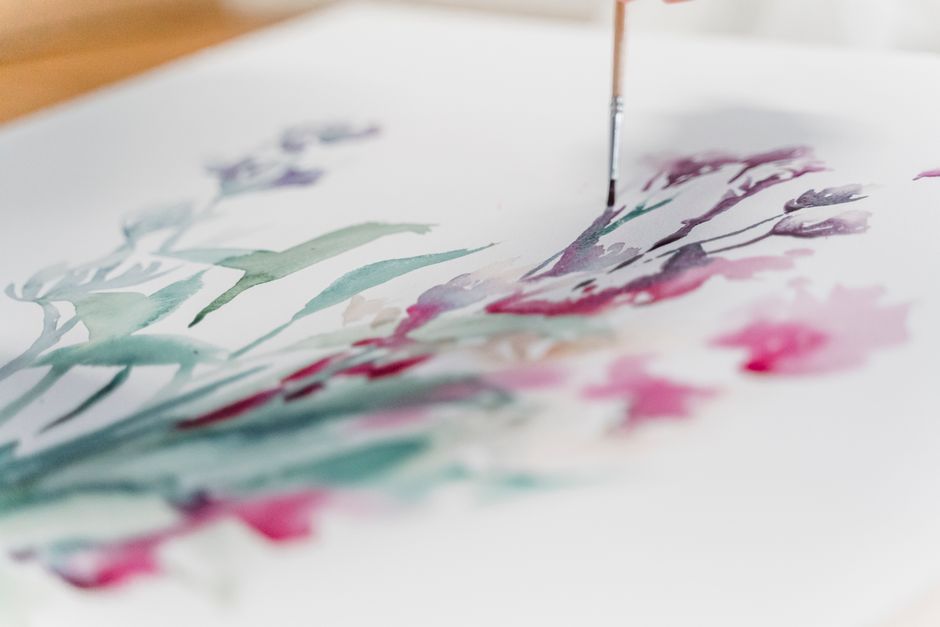
The wet-on-wet technique involves applying paint onto a surface that has been moistened with clean water. When the paper is damp, pigment spreads outward in soft, unpredictable patterns. This method is especially useful for creating the gradual color shifts found in flower petals, such as the transition from pale pink to deeper rose at the center.
To practice this technique, first wet an area of the paper with a clean brush or spray bottle. The surface should be evenly moist but not pooling with water. Then load a brush with diluted pigment and touch it gently to the damp area. The paint will bloom outward, forming soft edges. By adding different colors while the paper is still wet, the hues blend naturally without harsh lines.
Controlling the amount of water is key. Too much water causes the pigment to travel too far and lose definition; too little water prevents the paint from spreading. A good way to test the moisture level is to observe the sheen on the paper: when it appears satiny but not shiny, it is ready. Beginners may find it helpful to experiment on scrap paper first, noting how long it takes for the surface to dry and how different amounts of water affect the spread.
Understanding the Dry Brush Technique
In contrast, the dry brush technique uses a brush with very little moisture. After loading the brush with paint, the bristles are blotted on a paper towel until they are almost dry. This allows the brush to deposit pigment only on the raised fibers of the paper, creating broken, textured marks that can suggest veins, stems, or fine petal edges.
Dry brush is particularly effective for adding detail to a flower after the initial wet washes have dried. For example, thin lines of darker green can define the veins on a leaf, or a slightly darker pink can outline the edge of a petal. Because the brush is dry, the strokes remain crisp and do not bleed into surrounding areas.
Practicing pressure variation is important. Light pressure produces fine, delicate lines, while increased pressure spreads the bristles and creates broader strokes. The angle of the brush also affects the mark: a brush held vertically gives a sharp point, while a brush held at a shallow angle creates a wider stroke. Combining these variables allows the artist to build texture and depth without overworking the paper.
Step-by-Step: Painting a Simple Flower
Step 1: Sketching the Basic Shapes
Begin with a light pencil drawing of the flower’s outline. For a daisy‑style flower, draw a small circle for the center and several oval shapes radiating outward for petals. Keep the lines faint so they do not show through the watercolor. The sketch serves as a guide, not a strict boundary; watercolor often deviates from the pencil lines in pleasing ways.
Step 2: Applying the Wet-on-Wet Washes
Using a clean brush, wet one petal shape with water. While the area is damp, apply a pale wash of the chosen petal color—such as a light magenta or lavender. Let the color settle and spread. Before it dries, add a slightly more concentrated version of the same color near the base of the petal to create a gradient. Repeat this process for each petal, working one at a time to maintain control over the wetness. Allow the entire flower to dry completely before moving to the next step.
Step 3: Building Depth with Dry Brush
Once the initial washes are dry, prepare a dry brush with a darker shade of the petal color. Holding the brush at a low angle, lightly drag it along the edge of each petal to suggest a subtle shadow or fold. This technique adds dimension without overwhelming the soft background. For the center of the flower, use a dry brush to stipple small dots of yellow or orange, leaving some paper visible to create texture.
Step 4: Adding Leaves and Stems
Leaves can be painted using a combination of wet-on-wet for the main body and dry brush for the veins. Wet the leaf area, apply a light green wash, and then touch a darker green to the tip and base. While the paint is still moist, a clean, dry brush can lift some color to create a lighter vein line. After drying, use dry brush with a deep green or blue‑green to draw the central vein and fine side veins.
Blending Colors and Creating Depth
Flowers rarely consist of a single flat color. Observing how light falls on a flower reveals highlights and shadows. To achieve a natural look, artists can layer transparent washes, allowing each layer to dry before adding the next. This technique, known as glazing, builds rich, luminous colors without muddying the paint.
When blending two colors on the paper, such as a yellow center blending into white petals, the wet-on-wet method works well. Apply clear water to the area where the colors meet, then touch each pigment to either side. They will merge gently in the damp zone. If the colors become too blended, a dry brush can be used to lift some paint or to define the boundary.
Another approach is to use complementary colors to create shadows. For a yellow flower, a small amount of violet or blue‑gray added to the shadowed side creates a natural contrast. These subtle shifts in hue give the flower a three‑dimensional appearance. Practicing on a simple shape, such as a circle, helps build confidence in judging how much paint and water to use.
Common Challenges and How to Approach Them
Many beginners find that their washes dry too quickly or form hard edges. This often happens when the paper is not evenly moistened or when the room is very dry. One way to address this is to work in a cooler, slightly humid environment or to mist the paper periodically. If hard edges appear, they can be softened by gently brushing clean water along the edge while the paint is still damp.
Another frequent issue is muddiness, which occurs when too many colors are mixed on the paper or when the brush is not cleaned between applications. Keeping a separate rinsing water and using only two or three colors per area helps maintain clarity. If the paint becomes muddy, it is often better to let it dry and paint over it with a lighter, more transparent wash rather than trying to fix it while wet.
Patience is a valuable part of the process. Watercolor rewards those who allow layers to dry fully before adding new marks. Working section by section and stepping back to observe the overall balance can prevent overworking. Each painting session offers an opportunity to learn how the paint moves, how the paper responds, and how small adjustments in water and pressure shape the final image.