Understanding the Glazing Technique in Oil Painting
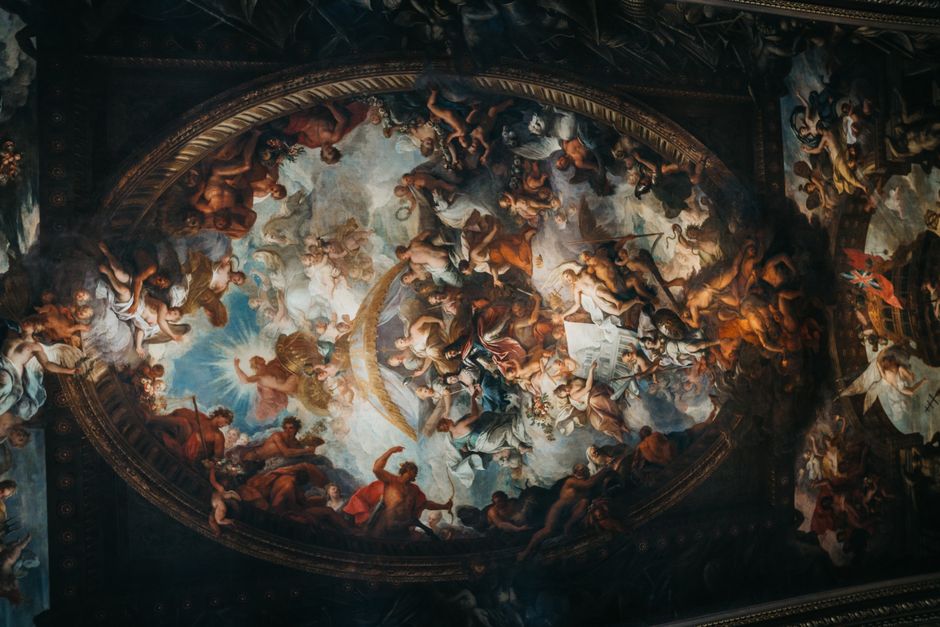
Glazing is a method that has been employed by oil painters for centuries to achieve effects that are difficult to obtain through direct painting alone. By applying thin, transparent layers of paint over a dried opaque layer, the artist can build up color gradually, allowing light to pass through the glaze and reflect off the layers beneath. This interaction between translucent and opaque passages creates a unique sense of luminosity and depth that is characteristic of many classical works.
Historically, the technique was refined during the Renaissance, with masters such as Jan van Eyck and Leonardo da Vinci using glazes to model forms and enhance atmospheric effects. Today, contemporary painters continue to explore glazing as a way to introduce subtle shifts in hue and value without losing the underlying structure of the painting. Understanding the principles behind this process is essential for any oil painter seeking to expand their technical repertoire.
This article provides an overview of the glazing technique, focusing on the materials, preparation, and methodology involved. Rather than prescribing a fixed set of steps, it presents a framework that can be adapted to different working practices and artistic goals.
The Fundamentals of Glazing in Oil Painting
Glazing relies on the optical properties of transparent pigments suspended in a binding medium. When a glaze is applied over a lighter ground or a dried opaque layer, the light travels through the glaze, strikes the underlying surface, and then passes back through the glaze to the viewer’s eye. This double pass through the color intensifies both the saturation and the perceived depth of the hue. The effect is distinctly different from mixing pigments directly on the palette, as the layered structure preserves the individual contributions of each layer.
The key to successful glazing is achieving the right degree of transparency. A glaze must be sufficiently transparent to allow the underlayer to influence the final appearance, yet it must also carry enough pigment to modify the color noticeably. This balance is controlled by the ratio of pigment to medium. Typically, the artist uses a medium such as linseed oil, stand oil, or a proprietary alkyd-based product to dilute the paint. The choice of medium affects drying time, flow, and the final sheen of the glaze.
Artists should also consider the drying characteristics of the paint layers. Glazes are most effective when applied over a completely dry underpainting. If the underlying paint is still wet or tacky, the glaze may blend with it, resulting in a muddy mixture rather than a distinct optical effect. In oil painting, this requirement aligns with the general principle of “fat over lean,” where each successive layer contains a higher proportion of oil to ensure flexibility and prevent cracking.
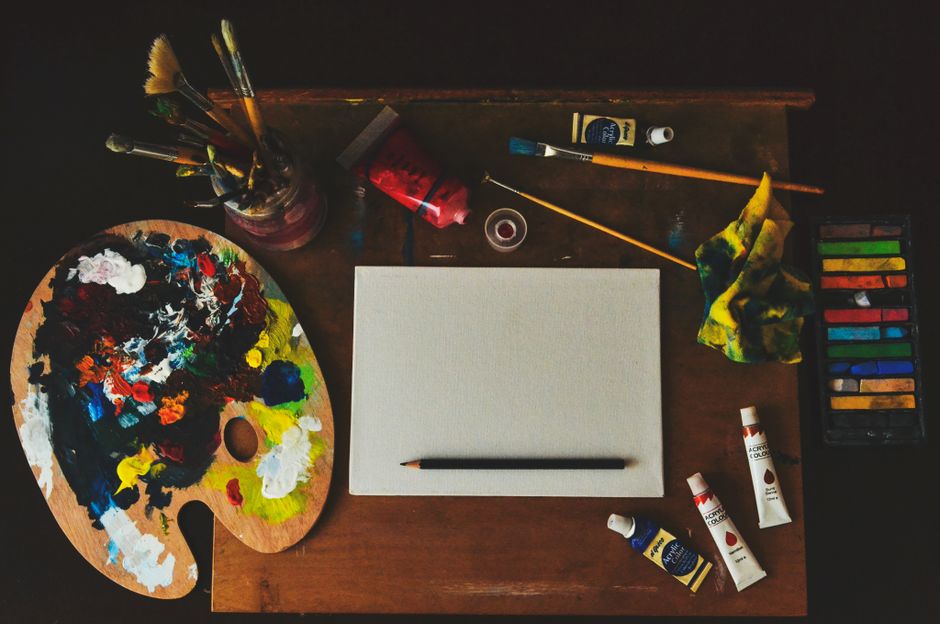
Preparing the Underpainting for Glazing
The underpainting serves as the foundation upon which the glazes will be built. For the glazing technique to produce its characteristic luminosity, the underpainting should be relatively light in value compared to the final effect desired. A common approach is to establish the composition using a monochromatic underpainting in a neutral tone such as burnt sienna or a cool gray. This initial layer defines the values and forms, while the subsequent glazes introduce color.
When designing the underpainting, the artist may choose to work in a key that is one or two steps lighter than the intended final result. The reason is that transparent glazes tend to darken the area where they are applied. By leaving the underpainting slightly lighter, the artist preserves the range of values needed to create depth. In addition, areas that are intended to remain bright can be left unglazed or given only a very thin wash of color.
The surface texture of the underpainting also influences the final appearance. A smooth, even surface allows the glaze to lie flat and remain transparent, while a more textured surface may cause the glaze to settle unevenly, producing a diffused effect. Some artists deliberately vary the texture to create contrast between soft and sharp areas. Regardless of the approach, it is essential that the underpainting is fully cured before any glaze is applied. In oil painting, this can take several days to a week or more, depending on the thickness of the paint and the ambient conditions.
Applying Glazes: Technique and Layering
Once the underpainting is dry, the glazing process can begin. The glaze mixture is prepared by combining a small amount of oil paint with an appropriate medium. The proportion of medium to paint is typically high—often three or four parts medium to one part paint—but this ratio can vary depending on the desired transparency and consistency. The mixture should be fluid enough to spread easily but not so thin that it runs uncontrollably.
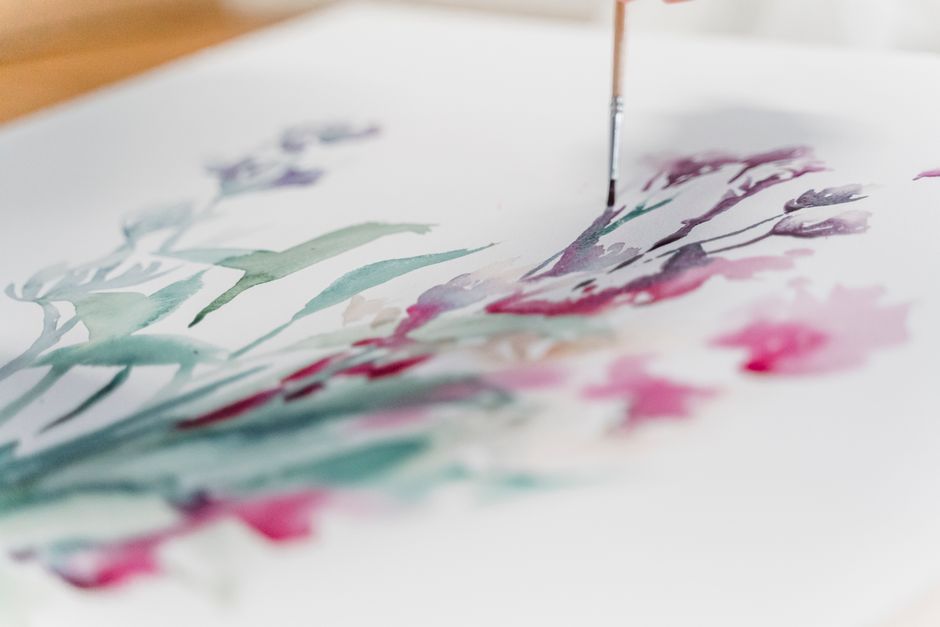
Application is usually done with a soft brush that does not disturb the underlying paint. A flat or filbert brush made of sable or a soft synthetic fiber works well. The glaze is brushed onto the canvas in smooth, even strokes, taking care to avoid excessive working that might lift the underpainting. It is often better to apply multiple thin coats rather than a single thick one, as thin layers allow greater control over the buildup of color and reduce the risk of uneven drying.
After each glaze is applied, the painter must allow it to dry thoroughly before adding another layer. Drying times for glazes can be shortened by using fast-drying mediums, such as those containing alkyd resins. Art Spectrum, for example, produces a range of alkyd-based mediums that can reduce drying time to a day or less, depending on the ambient conditions. However, even with accelerated drying, it is important to wait until the surface is no longer tacky to the touch before proceeding.
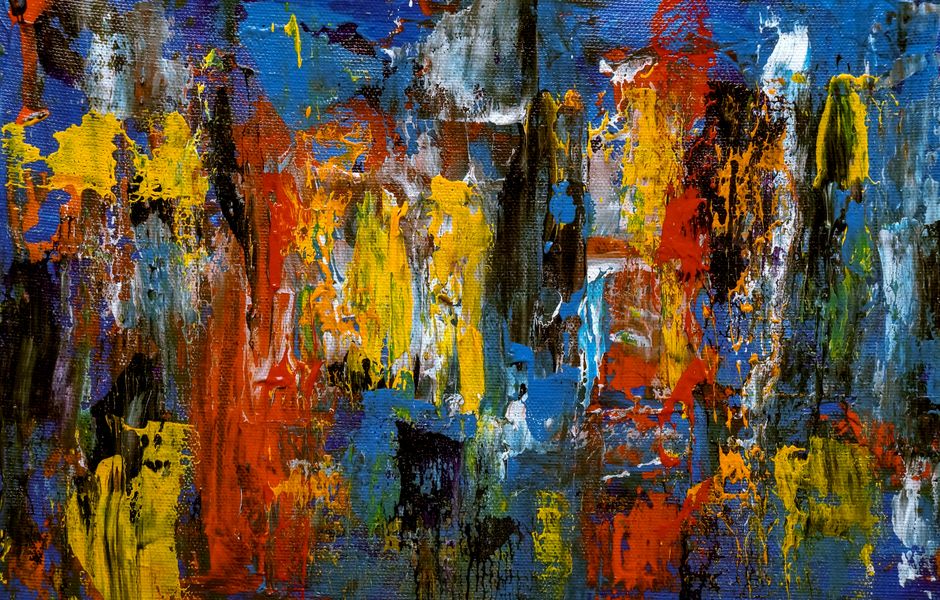
Layering glazes allows the artist to gradually adjust the color, deepen shadows, and introduce atmospheric effects. Each new layer interplays with the ones beneath it, creating complex optical mixtures that cannot be achieved by physical mixing. The process demands patience and a willingness to observe how each layer changes the overall appearance. Small tests on a separate surface can help the artist predict the outcome before committing to the painting.
Controlling Transparency and Color Choice
The selection of pigments plays a crucial role in the effectiveness of the glazing technique. Transparent pigments, such as alizarin crimson, phthalo blue, and transparent yellow oxide, are ideal for glazes because they allow light to pass through with minimal scattering. Opaque pigments, like titanium white or cadmium red, are less suitable as they block the light and produce a more opaque effect. Some pigments, such as ultramarine blue, are semi-transparent and can be used when a subtle opacity is desired.
In addition to pigment selection, the medium used affects the optical properties of the glaze. A high-gloss medium will make the glaze appear more transparent and increase the brilliance of the underlayer, while a matte medium may diffuse light slightly and reduce contrast. The artist’s choice depends on the intended finish. For classical, luminous effects, a gloss medium is often preferred. For more subdued or contemporary works, a satin or matte finish can be suitable.
Color mixing within the glaze must also be considered. Since the glaze is transparent, mixing two or more transparent pigments on the palette before application can create a wide range of hues. However, mixing an opaque pigment with a transparent one will reduce the overall transparency. The artist may also apply glazes of different colors in separate layers, allowing the eye to optically blend them. This technique can produce very rich, vibrant colors that retain a sense of depth.
It is worth noting that the final appearance of a glaze often changes as it dries. Freshly applied glazes may look darker and more saturated, but as the solvent evaporates and the medium oxidizes, the color can shift slightly. Artists should allow the work to dry completely before assessing the final result, and be prepared to make adjustments if necessary.
Practical Considerations and Variations
One of the most important practical considerations in glazing is the principle of fat over lean. Because glazes contain a higher proportion of oil (fat) than the layers beneath, they remain flexible and less prone to cracking. If a lean layer is applied over a fat layer, the opposite effect can occur, leading to potential damage over time. This is why it is recommended to start with leaner paints in the underpainting and gradually increase the oil content in subsequent glazes.
Another consideration is the use of varnish. A final varnish can enhance the transparency and depth of glazed areas, but it should be applied only after the entire painting has fully cured—typically after six months to a year. Varnishing too early can trap solvents and lead to yellowing or cracking. Some artists choose to apply an isolation coat before varnishing to protect the paint layer.
The glazing technique can be combined with other methods, such as scumbling or impasto, to create varied surface textures. For instance, a scumbled layer (a thin, opaque layer) can be used to soften edges or reduce intensity before applying a final glaze. Experimentation with different combinations of opaque and transparent layers allows each painter to develop a personal approach that suits their subject matter and style.