Acrylic Painting on Wood: Preparation and Tips
Painting with acrylics on wood offers a distinctive surface that can influence both the application and the final appearance of the artwork. Unlike canvas or paper, wood is a porous, organic material that reacts to moisture and temperature changes. Without proper preparation, acrylic paint may soak into the grain unevenly, lose vibrancy, or peel over time. Understanding the characteristics of wood and the steps needed to create a stable painting surface is an essential part of the process.
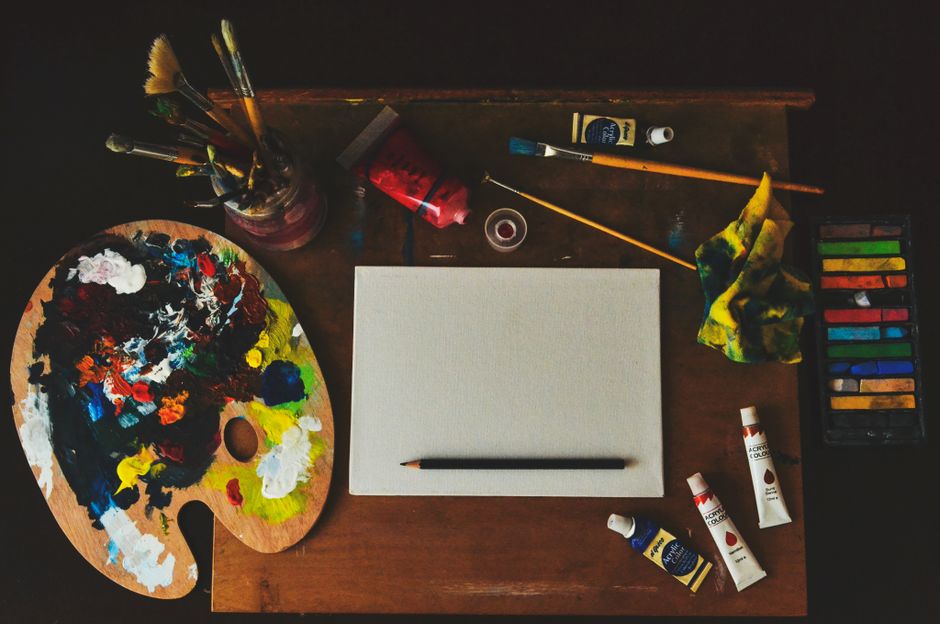
The following guide outlines approaches to preparing wood panels and boards for acrylic painting. The focus is on methods that support consistent adhesion and long-term durability. While no single technique guarantees a specific outcome, combining surface sanding, sealing, and priming with careful painting practices can contribute to a more predictable result. These steps are relevant for artists working with raw wood, reclaimed panels, or ready-made supports.
Understanding Wood Characteristics and Selection
Different types of wood present varying levels of porosity, grain density, and natural oils. Softwoods such as pine or cedar tend to absorb moisture more readily and may contain resins that can interfere with paint adhesion over time. Hardwoods like birch, maple, or poplar offer a tighter grain and a more uniform surface, which can be easier to prepare. Plywood and MDF (medium-density fiberboard) are commonly used alternatives, each with its own preparation requirements.
When selecting a wood panel, it is helpful to consider whether the piece has been kiln-dried or treated. Moisture content can affect how the wood reacts to sealers and paint layers. Warping or cracking may occur if the wood is not stable before painting. Storing wood panels in a consistent environment prior to preparation can help minimize unexpected changes. Artists often choose birch plywood or pre-sanded hardwood panels as a starting point, as these surfaces require fewer initial adjustments.
Surface Preparation: Sanding and Cleaning
Sanding is a common first step for preparing raw wood. The goal is to create a surface that is smooth enough to reduce visible grain texture but not so polished that the primer or paint cannot bond. Starting with a medium grit, such as 120-grit sandpaper, and progressing to a finer grit like 220 can remove rough spots and open the pores slightly. Sanding in the direction of the grain rather than across it helps avoid scratches that may show through later layers.
After sanding, removing dust is critical. A damp cloth or a tack cloth can pick up fine particles that might otherwise become trapped in the primer or paint. Some artists also use a vacuum with a soft brush attachment. If the wood has any grease, dirt, or residue from previous treatments, a mild soap and water solution may be used, followed by thorough drying. Waiting at least 24 hours after cleaning ensures that the wood is fully dry before any liquid sealer is applied.
Sealing and Priming for Acrylic Adhesion
Sealing wood before painting helps prevent the acrylic binder from being absorbed too deeply into the fibers. Without a sealer, the paint may dry unevenly and lack the glossy depth that acrylics can provide on a non-porous surface. Common sealers include gesso, acrylic medium, or specialized wood sealers designed for artists. Gesso, which is a mixture of acrylic polymer, calcium carbonate, and pigment, is widely used because it can be sanded lightly after drying to create an even painting surface.
Applying one to three thin coats of gesso, allowing each to dry completely and sanding between coats with fine grit sandpaper, can produce a smooth, absorbent layer. For wood that contains tannins, such as oak or walnut, an additional isolating coat of clear acrylic medium may help prevent staining from migrating into the paint layers. Art Spectrum offers a range of acrylic primers and mediums that can be used in this process, though the choice of product depends on the specific surface and the artist’s preferences.
Priming with an acrylic-based sealer also serves as a barrier that reduces the risk of the wood absorbing moisture from the paint. When the wood is sealed properly, the acrylic paint remains on the surface, which can improve color intensity and adhesion. It is important to allow the primer to cure fully before painting. Depending on humidity and temperature, this may take several days.
Painting Approaches for Wood Surfaces
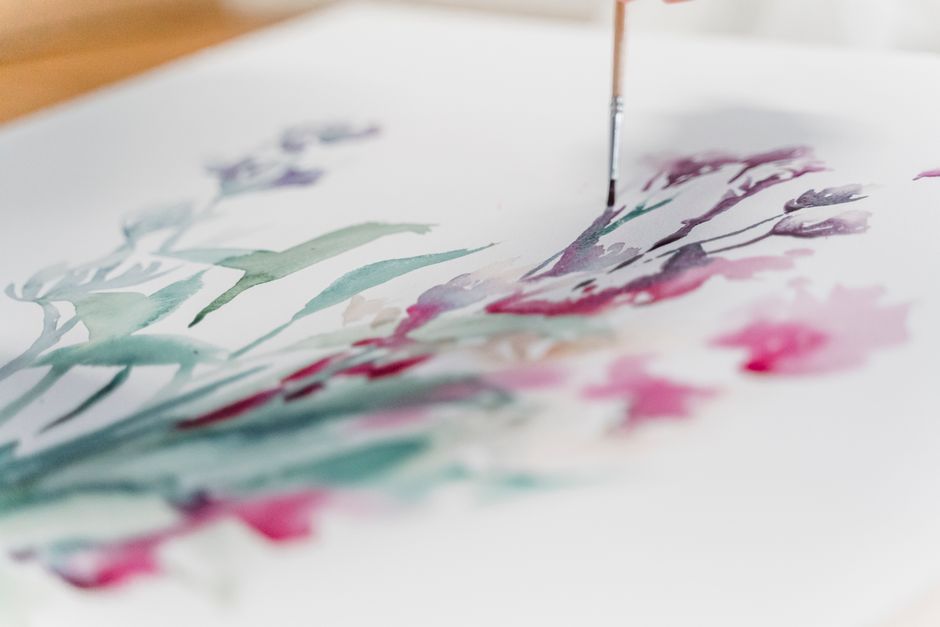
Once the wood is prepared, the application of acrylic paint follows similar principles to painting on other rigid surfaces, though some adjustments may be beneficial. Because wood does not flex like canvas, heavy applications of paint may be prone to cracking if the wood shifts with humidity. Using thinner layers or building up color gradually with glazes can help maintain flexibility in the paint film.
Acrylic paints with a higher pigment load may offer better coverage on wood with fewer coats. Some artists opt to use fluid acrylics or those labeled as heavy body, depending on the desired texture. Brushes, sponges, or palette knives can be used, but natural bristle brushes may leave visible marks on a primed surface. Synthetic brushes are often preferred for smooth application.
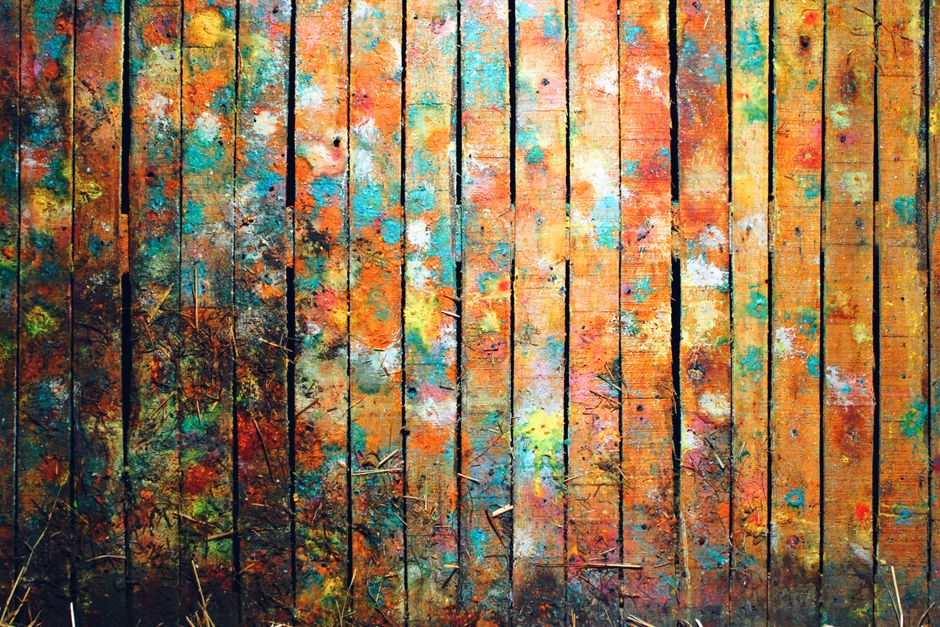
Working on wood also allows for techniques such as sanding back between layers to reveal undertones or to create a distressed look. This approach is commonly used in mixed media but requires careful handling to avoid damaging the sealed surface. After each paint layer, allowing adequate drying time and considering a light mist of water to slow the drying of acrylics can help achieve a more even finish.
Varnishing and Long-Term Care
After the painting is complete and the acrylic has fully cured, applying a varnish can provide additional protection. Varnishes designed for acrylic paintings help shield the surface from dust, UV light, and minor scratches. They can also unify the finish across matte and glossy areas. For wood panels, removable varnishes are sometimes preferred because they allow for cleaning or re-varnishing without damaging the paint layer.
Applying varnish in thin, even coats using a soft brush or a sponge applicator can reduce the risk of bubbles or streaks. Following the manufacturer’s instructions for drying and recoat times is advisable. Once varnished, the artwork should be stored or displayed away from direct sunlight and extreme humidity changes. Wood continues to expand and contract with environmental conditions, so framing the panel with a backing that allows some air circulation may help maintain stability over the long term.